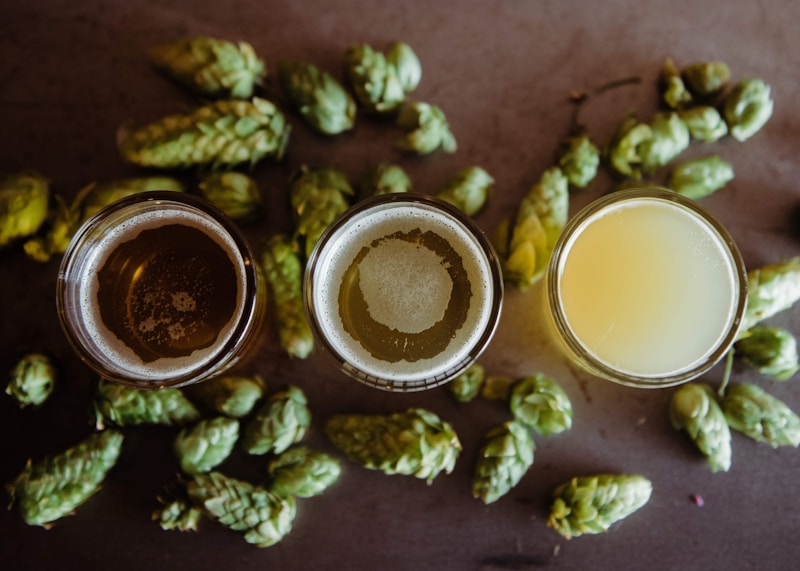
Dry hopping is the single fastest way to transform a mediocre IPA into a great one — and one of the most misunderstood techniques in homebrewing. The idea is simple: adding hops after fermentation (when there’s no heat to boil off aromatics) extracts volatile compounds that give beer its fruity, floral, tropical nose. The execution has a few gotchas.
Timing matters more than most homebrewers realize. Adding dry hops too early — while fermentation is still active — causes “hop creep,” a phenomenon where hop-derived enzymes restart fermentation and thin out the beer. Best practice: wait until fermentation is complete and gravity is stable, then dry hop. For most ales, that’s day 5–7.
Temperature affects extraction speed and character. Cold dry hopping (around 35°F) is slower but produces cleaner, softer aromatics. Room temperature (65–70°F) extracts faster and emphasizes citrus and tropical notes. Most commercial hazy IPA producers dry hop “warm” for exactly this reason.
Duration: 3–5 days is the sweet spot for most whole cone or pellet additions. Beyond 7 days you risk grassy, vegetal notes as chlorophyll and plant matter leach into the beer. Pull the hops (or cold crash to drop them out) before that window closes.
Amounts: For a 5-gallon batch, 2–4 oz is a solid dry hop addition for noticeable aroma. 6–8 oz is territory for hazy IPAs where hop character is the whole point. Use a hop spider or muslin bag if your fermenter doesn’t have a bottom drain — siphoning through loose pellets is miserable.


Leave a Reply